Making your own beer can wind chimes is a great way to recycle old cans and have fun doing it. This comprehensive guide will answer all of your questions, from what type of beer cans work best to how to hang them up. We’ve also included product reviews and useful tips from experienced makers. So whether you’re a beginner or an expert, read on for everything you need to know about how to make beer and wind chimes!
Table of Contents
Gather your supplies and tools
The first step is to gather your supplies and tools. You’ll need:
- Beer cans (we’ll talk more about what type of cans work best later)
- Wire cutters
- A drill with a small bit (we recommend a ⅛” or smaller)
- Jute twine or fishing line
- A hammer
- Nail
Optional supplies and tools:
- A paintbrush and acrylic paint (if you want to add color to your chimes)
- A small saw (if you want to make longer chimes) [1]
With your supplies in hand, you’re ready to start making your beer can wind chimes!
Instructions for crafting wind chimes from a beer can
So, you want to make a beer can wind chime. You’ve come to the right place! This comprehensive guide will cover everything you need to know about making your very own beer can wind chime. We’ll go over the materials you’ll need, step-by-step instructions, and helpful tips to make sure your finished product is perfect.
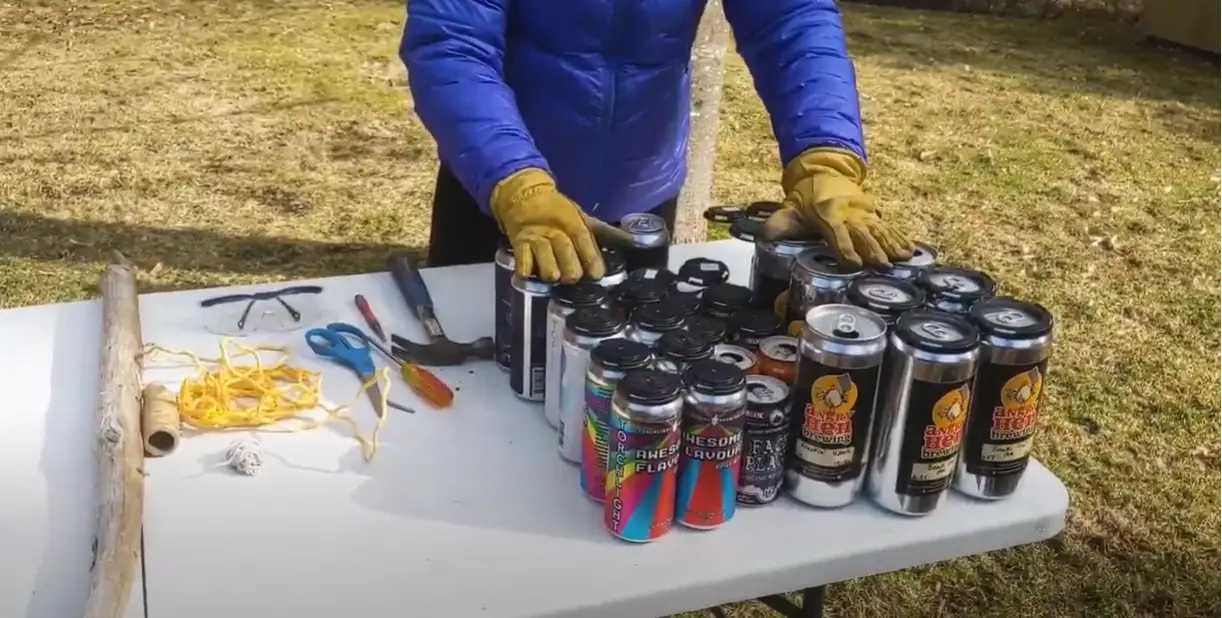
Making the base
The first step is to make the base for your chime. You’ll need a beer can, a hammer and nail, fishing line, and something to hang your chime from.
Start by opening the beer can and using the hammer and nail to punch a hole in the top and bottom of the can. Next, cut three equal pieces of fishing line and thread them through the holes you just made.
Tie each piece of fishing line to one end of a key ring or other object that will serve as your chime’s clapper. You now have the basic structure of your chime!
For this step, you’ll need more beer cans (or other small metal objects like bottle caps), a drill, and jingle bells. Start by drilling a hole in the center of each can bottom.
Thread a piece of fishing line through each hole and tie it to another key ring or object that will serve as your chime’s clapper. Finally, add a jingle bell to each key ring.
Your wind chime is now complete! Hang it outside and enjoy the soothing sound it makes whenever the wind blows.
Creating aluminum tines
If you’re looking to add a unique, handmade touch to your home, look no further than beer can wind chimes! These creative decorations are easy and fun to make, and they’ll add a delightful jingle to any outdoor space. In this comprehensive guide, we’ll show you how to make beer can wind chimes from start to finish. We’ll also provide helpful product reviews and tips for choosing the best materials for your project. So grab a few empty cans and let’s get started!
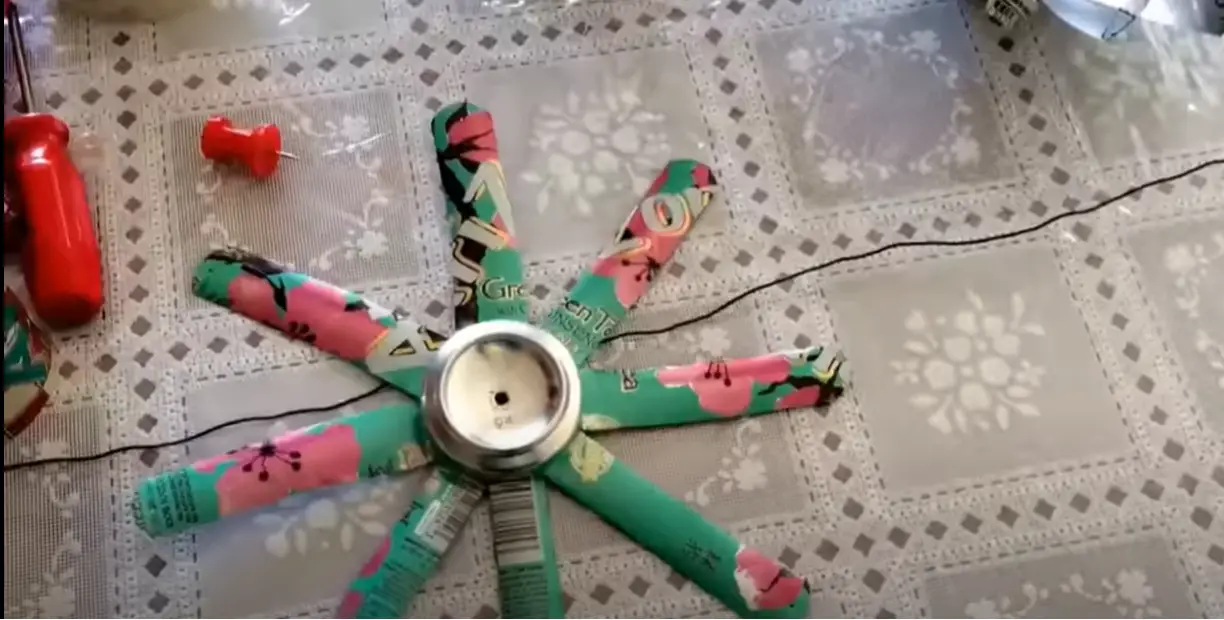
The first step in making beer can wind chimes is to create the aluminum tines that will produce the signature tinkling sound. You’ll need about 24 cans for this project, so start collecting your empties now. Once you have your cans, use a can opener to remove the top and bottom of each one. Be sure to keep the tops – we’ll be using them later!
Next, use a sharp knife to cut each can into thirds. These will be your tines, so be careful not to make them too thick or too thin. You want them to be just the right size so they produce a clear tone when struck by the wind.
Once you’ve cut all of your tines, it’s time to start shaping them. Use a hammer or other blunt object to gently flatten out the ends of each tine. This will help them produce a nicer sound when they hit each other in the breeze.
Now that your tines are ready, it’s time to move on to the next step: creating the frame for your wind chimes. This can be made from any type of material you like – wood, metal, plastic, etc. Just be sure to choose something that’s sturdy and won’t break easily in the wind.
Next, use a drill or other sharp object to make holes in your frame. The holes should be big enough to fit your tines through, but not so big that they fall out easily. Once all of your holes are drilled, start threading your tines through them.
As you thread each time through the hole, bend it slightly so it hits against the others when moved. You want your tines to create a pleasing chiming sound when they’re struck together, so experiment with different shapes until you find a configuration you like.
Once all of your tines are in place, it’s time to add the finishing touches to your wind chimes. You can decorate your frame with paint, beads, shells, or any other type of embellishment you like. Be creative and have fun!
Finally, use a fishing line or another type of string to hang your wind chimes from a tree branch or other sturdy object. Sit back and enjoy the sweet sound of summer! [2]
Hanging the tines
The tines are the metal parts that hang down and make noise when they hit each other. You will need to use a hole punch to make two holes in the top of each can, about an inch from the edge. String the fishing line through these holes and tie a knot to secure it. The length of the line will depend on how low you want your chime to hang.
Once you have all of your tines hung, find a place to put your wind chime where there is a good breeze. Your beer can wind chime is now ready to create some beautiful music! Thanks for following along. I hope you enjoy making your own beer and can wind chimes as much as I do. [3]
Extra tips
Tips for making bells from beer cans:
- If you want your wind chime to last longer, consider sealing the holes with clear silicone sealant. Just make sure to let the sealant dry completely before hanging up your chime!
- You can also experiment with different types of metal cans to create unique tones. Just be aware that thinner cans may dent more easily.
- If you’re feeling really creative, try painting or decorating your beer can wind chimes before adding them to your outdoor space! [4]
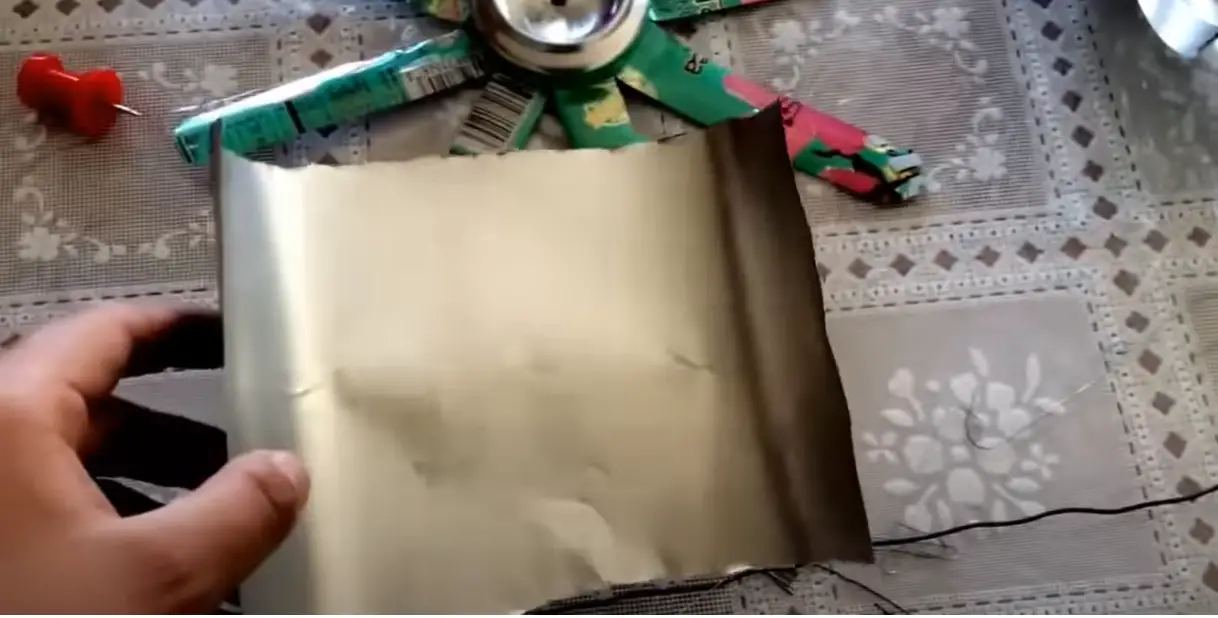
Comparison of Indicators for Making Beer Can Wind Chimes
Beer can wind chimes are a popular DIY project that can add a unique touch to outdoor decor. While the process of making them may seem simple, there are several factors to consider that can affect the final product. This table compares various indicators for making beer can wind chimes, including the number of cans needed, the length of the chimes, and the level of difficulty.
| Indicator | Low | Medium | High |
|---|---|---|---|
| Number of cans needed | 5-10 | 10-20 | 20+ |
| Length of chimes | Less than 1 ft | 1-2 ft | 2+ ft |
| Level of difficulty | Easy | Intermediate | Difficult |
This table provides a comparison of three indicators for making beer can wind chimes. The first indicator is the number of cans needed, which can vary depending on the desired size and complexity of the wind chime. The second indicator is the length of the chimes, which can also vary depending on the number of cans used and the overall design. The third indicator is the level of difficulty, which can depend on the individual’s DIY skills and experience. By comparing these indicators, individuals can choose the right beer can wind chime project for their needs and abilities.
FAQ
What can you make with beer bottle caps?
With a little bit of creativity, you can make all sorts of things out of beer bottle caps! Some popular ideas include coasters, magnets, keychains, and even wind chimes.
If you’re looking for a fun project to do with your spare bottle caps, why not give making a beer can wind chime a try? In this comprehensive guide, we’ll walk you through everything you need to know about making your own Beer Can Wind Chimes, including what materials you’ll need and some helpful tips and tricks.
How do you make bottle caps at home?
If you’re looking to add a fun and unique decoration to your home, beer can wind chimes are a great option! Not only are they easy and inexpensive to make, but they also add a touch of whimsy to any space. In this comprehensive guide, we’ll walk you through everything you need to know about how to make beer can wind chimes, from gathering your materials to creating the perfect design. We’ll also provide some helpful tips and product reviews to ensure that your project is a success. So grab a few empty beer cans and let’s get started!
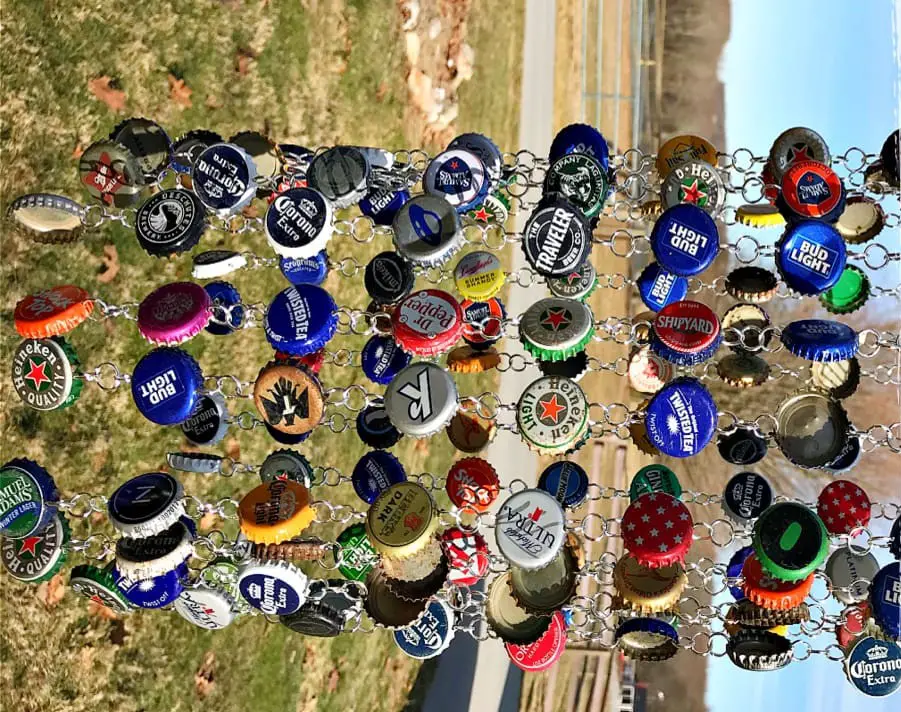
The first step in making your beer can wind chime is to gather all of the necessary materials. You’ll need at least six empty beer cans, although more will give you a fuller-sounding chime. You’ll also need a sharp knife or box cutter, strong fishing line or twine, and something to use as a weight (we recommend a small rock). Once you have all of your materials gathered, wash the beer cans thoroughly and remove the labels.
Next, use your knife or box cutter to make a hole in the bottom of each can. The holes should be big enough to fit your fishing line or twine through, but not so big that they weaken the structure of the can. Once you’ve made the holes, thread your fishing line through each can, tying a knot at the top of each one. The knots should be tight enough that the cans won’t slip off, but not so tight that you can’t adjust the spacing between them later.
How do you stick beer bottle tops to wood?
There are a few options when it comes to sticking beer bottle tops to wood. You can use hot glue, super glue, or even duct tape. The important thing is to make sure that the surface is clean and dry before you apply any adhesive. Once you have your adhesive of choice, apply a small amount to the center of the bottle top and press it firmly onto the wood. Repeat this process for each bottle top until your design is complete.
Are bottle caps worth money?
The answer to this question is a resounding yes! Bottle caps are not only worth money, but they can also be used to make some of the most beautiful and unique wind chimes you’ve ever seen. In this guide, we’re going to show you how to make beer can wind chimes, complete with product reviews and useful tips.

How do you make flowers out of beer caps?
If you want to make flowers out of beer caps, you will need a few supplies. First, you will need a hot glue gun and some hot glue sticks. You will also need a pair of scissors and some wire cutters. Finally, you will need around 30 beer caps.
Now that you have all of your supplies, it’s time to get started! Begin by taking your hot glue gun and attaching four beer caps together in a square shape. Once they are attached, take your scissors and cut off the bottom points of the four caps so that they are flush with each other.
Next, take two more beer caps and attach them to the center of two opposite sides of the square. Make sure that the bottoms of the caps are flush with the bottoms of the square. Now, you should have a six-sided shape that resembles a flower.
To finish your beer cap flower, take your wire cutters and cut a small piece of wire. Wrap one end of the wire around the center of the flower and then curl the other end around to create a stem. Finally, use your hot glue gun to attach leaves made out of green felt or construction paper to the stem.
What glue is best for bottle caps?
There are a few different types of glue that can be used for attaching bottle caps to one another or to other objects. A strong, clear-drying glue like epoxy or E6000 is best for this purpose. Hot glue can also be used, but it will not create as strong of a bond and is more likely to come loose over time.
Before you begin gluing your bottle caps together, it’s important to make sure they’re clean. Any dirt, grease, or residue on the surface of the caps can interfere with the adhesive and cause it not to adhere properly. To clean your bottle caps, simply scrub them with soapy water and a sponge or cloth. Rinse them well and allow them to dry completely before proceeding.
Once your bottle caps are clean, you can start gluing them together. If you’re using epoxy, mix up a small amount according to the package directions and apply it to one side of a cap with a craft knife or toothpick. Place another cap on top, pressing down firmly to create a good bond, and hold in place for a few minutes until the glue has had time to set. For best results, allow the glued caps to cure overnight before moving on to the next step.
If you’re using hot glue, apply a generous amount of glue to one side of a cap and press another cap on top, holding it in place until the glue has cooled and set.
How do you make a hole in a metal bottle cap?
There are a few ways to make a hole in a metal bottle cap. The most common way is to use a drill bit that is slightly smaller than the diameter of the hole you want to create. Another way is to use a sharp knife or pair of scissors to carefully cut out the desired shape.
If you’re using a drill bit, it’s important to start slowly and increase the speed as you go. If you’re using a sharp object, be sure to exercise caution and go slowly so you don’t accidently cut yourself. Once you’ve made your holes, sand down any rough edges with sandpaper until they’re smooth.
Now that you have your holes, it’s time to move on to the next step: attaching the bottle caps to the string. There are a few different ways to do this, but we’ll go over the two most common methods.
The first method is to use strong glue or epoxy to attach the caps directly to the string. Simply apply a generous amount of glue to the back of each cap and press it firmly onto the string. This method works best if you’re using thicker string or twine, as it can be difficult to get thinner materials to stay in place.
The second method is to use jump rings (or split rings) to connect the caps to the string. This is a bit more complicated than using glue, but it results in a much sturdier connection. To do this, start by threading a jump ring through the hole in each cap. Then, use pliers to open up the jump ring and hook it onto the string. Close the jump ring back up and repeat this process for each cap.
Now that your caps are attached, it’s time to start hanging them up! You can do this by tying knots in the string at different lengths, or by using hooks or other attachments to secure the string to a wall or other surface.
How do I prepare the beer cans for wind chimes?
Start by cleaning the beer cans thoroughly and removing any labels or adhesives. Next, use scissors to cut off the top and bottom of the can, so you are left with a cylinder shape. Then, cut vertical slits in the can, about 1 inch apart, all the way down the length of the cylinder. Finally, use a hammer and nail or drill to make a small hole in the top of the can.
What is the process for assembling the wind chimes?
Once you have prepared the beer cans, cut a length of fishing line or wire to your desired length for the chimes. Thread the line through the hole in the top of the can and tie a knot to secure it in place. Repeat this process with as many beer cans as you want to use. Finally, tie each length of fishing line or wire to the metal ring or hoop, evenly spacing them around the ring.
Can I customize my beer can wind chimes?
Yes! You can paint the beer cans or decorate them with markers, stickers, or other materials to make them more colorful and unique. You can also experiment with different types of beer cans, such as aluminum versus steel, to create different sounds.
Where is the best place to hang beer can wind chimes?
You can hang your beer can wind chimes in any outdoor space where they will catch the breeze and create a pleasant sound. Some popular locations include porches, balconies, gardens, and patios. Just make sure the chimes are not in a location where they will constantly hit against something and become damaged.
How can I maintain my beer can wind chimes?
Over time, the fishing line or wire used to hang the chimes may become worn or damaged. Check your wind chimes regularly and replace any broken or frayed lines. You can also clean the beer cans periodically with soap and water to keep them looking their best. Finally, if you live in an area with harsh weather conditions, consider bringing your wind chimes indoors during storms or extreme weather.
Can I use other types of cans to make wind chimes?
Yes, you can use other types of cans to make wind chimes. Soda cans and soup cans are popular choices, and you can even mix and match different types of cans to create a unique look and sound. Just make sure to clean and prepare the cans in the same way as the beer cans before assembling the wind chimes.
How can I adjust the sound of my beer can wind chimes?
If you want to adjust the sound of your wind chimes, you can experiment with different sizes and shapes of cans, as well as different materials for the clapper that hits the cans. You can also adjust the length of the fishing line or wire used to hang the chimes to change the spacing between the cans and create different sounds.
Can I make wind chimes with other materials besides beer cans?
Yes, you can make wind chimes with a variety of materials, including seashells, glass bottles, and metal tubes. The process will be slightly different depending on the materials you choose, but the basic idea is the same: create a series of objects that will hit against each other in the wind to create a pleasant sound.
Are there any safety considerations I should keep in mind when making beer can wind chimes?
When working with sharp tools like scissors and a hammer and nail or drill, it’s important to use caution to avoid injury. Make sure to cut the cans in a safe and controlled manner, and wear gloves if necessary to protect your hands. When hanging the wind chimes, make sure they are secure and won’t fall or become a hazard in high winds or severe weather.
Useful Video: How to Make a Beer Can Wind Chime
Conclusion
Now that you know how to make beer and can wind chimes, get out there and start creating your own unique designs! Be sure to share photos of your finished product in the comments below or on social media using the hashtag #madebeerchimes. We hope you enjoyed our guide on how to make beer can wind chimes. If you have any questions or tips of your own, please share them in the comments below! Thanks for reading!
References
- https://www.instructables.com/Beer-Cap-Garland-or-windchime/
- https://ourpastimes.com/sudoku.html
- https://www.wikihow.com/Build-and-Tune-a-Wind-Chime
- https://yoo.rs/beer-caps-wind-chimes


Leave a Reply