Replacing a mailbox in brick can be a daunting task. It’s not always clear how to go about it, or what tools are necessary. In this article, we will answer common questions about replacing a mailbox in brick. We’ll provide you with a step-by-step guide on how to do it, as well as some helpful tips and tricks. So, whether you’re replacing an old mailbox that’s seen better days, or installing a new one for the first time, read on for all the information you need!
Table of Contents
Determine if your brick column is big enough
The first step in replacing a mailbox in brick is determining if the column you plan to install it on is big enough. Most mailboxes require at least 8”x8” for proper installation, so measure your current column or wall opening and make sure it can accommodate this size requirement. If not, you may need to purchase an adapter plate or build out the wall with additional bricks.
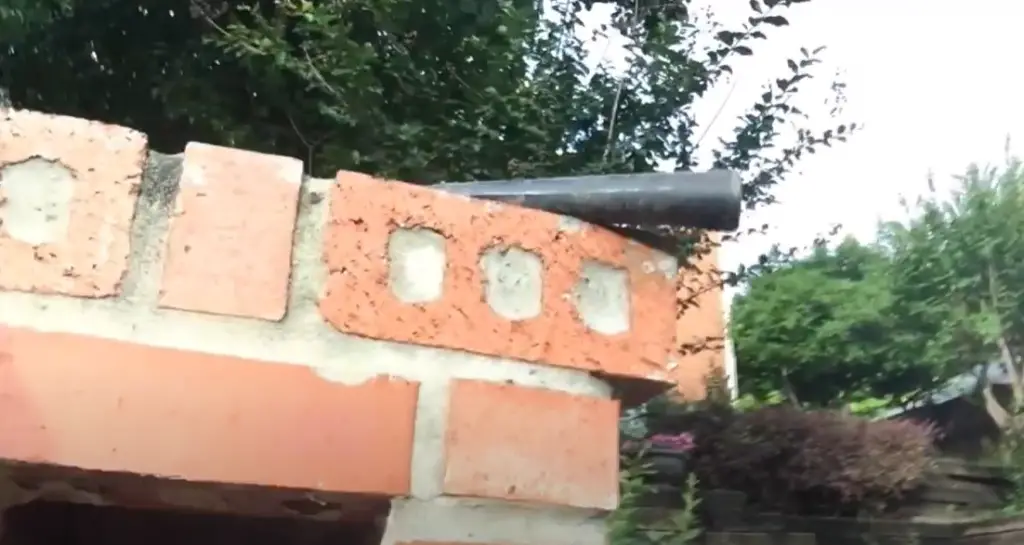
Find out if the brick column is hollow or filled with debris
Next, determine whether the brick column you plan to install your mailbox on is hollow or filled with debris. This can be done by tapping gently on the brick with a hammer and listening for an echoing sound. If it is hollow, you will need to fill it with concrete before installing the mailbox.
Cut the face with a diamond blade saw
Once you’ve determined that the column is large enough and hollow, it’s time to cut the face of the brick with a diamond blade saw. This should be done carefully and slowly, as too much pressure can damage the brick. Start at one corner and work your way around in a circular motion until you have created an opening large enough to fit your mailbox.
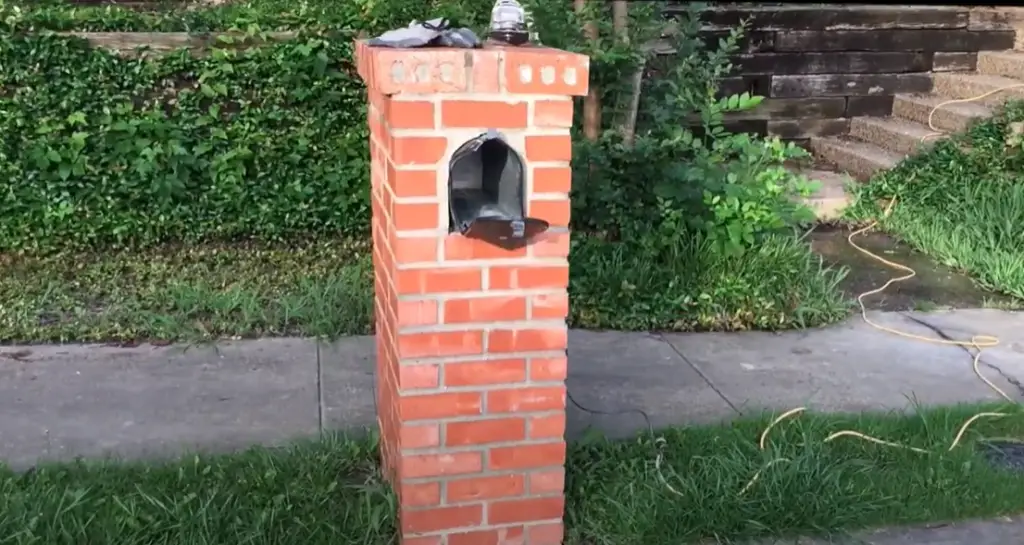
Prepare the inside for a new mailbox
Now that the opening is ready, you need to prepare the inside of it for a new mailbox. This includes cleaning out any debris or dirt in the mortar joints, and ensuring that all surfaces are level and even. You may also want to use an adhesive such as masonry nails or construction adhesive to secure the mailbox into place.
Install your new locking mailbox
Once you have prepped the opening, it’s time to install your new locking mailbox. Make sure that you are using the correct screws and anchors for your particular mailbox, as different manufacturers may require different types of hardware. Insert the screws into the pre-drilled holes and then tighten them with a screwdriver or cordless drill.
FAQ
Can you replace a mailbox in brick?
Yes, it is possible to replace a mailbox in brick, but it requires you to have the right tools and knowledge. To ensure that your new mailbox fits perfectly, make sure to measure the column or wall opening first. This way you can determine if it is adequately sized for your needs. To install your new locking mailbox, you will first need to use a diamond blade saw to cut the face of the brick and then fill in any crevices with concrete. [1]
How do you replace a brick mailbox door?
Replacing a brick mailbox door is similar to replacing the entire mailbox. Start by measuring your column or wall opening to determine if it can accommodate the size of your new mailbox. You will then need to cut the face of the brick with a diamond blade saw, fill any hollow areas with concrete, and secure the door into place with screws and anchors.
Is it easy to replace a mailbox?
Replacing a mailbox can be relatively easy if you have the right tools and knowledge. It is important to measure your column or wall opening first, as this will determine the size of the mailbox you can install. You will also need to cut the face of the brick with a diamond blade saw and fill any hollow areas with concrete before installing your new locking mailbox. With these steps in place, replacing a mailbox should be relatively straightforward.
What kind of mailbox do you use for brick?
When installing a mailbox in brick, you need to make sure that it is designed specifically for this purpose. Look for mailboxes labeled as “brick mount” or “masonry mount” and be sure to check the measurements on the box before purchasing to make sure it will fit your column or wall opening. Installing masonry-mounted mailboxes require at least 8”x8” of surface area in order to be securely fitted. [2]
How do you drill a mailbox into a brick wall?
Drilling a mailbox into a brick wall requires the use of masonry anchors and screws. Make sure to measure your column or wall opening first to ensure that it can accommodate the size of your new mailbox. Then, drill pilot holes in each corner of the mailbox using an appropriately-sized masonry bit. Finally, insert the anchors into each hole and secure them with screws.
What size is a brick mailbox?
The size of a brick mailbox will depend on the column or wall opening that it is being mounted in. However, most masonry-mounted mailboxes require at least 8”x8” for proper installation. It is important to measure your column or wall opening before purchasing a mailbox to ensure that it will fit properly. [3]
Useful Video: How to fit your letterbox to the wall – a guide by The House Nameplate Company
Conclusion
To conclude, replacing a mailbox in brick is a simple process, as long as you have all of the necessary materials on hand and take the time to do it properly. You’re now equipped with all the knowledge necessary to replace a mailbox in brick, from removing the old system to installing the new one. For any additional tips or advice on how to get this job done quickly and easily, feel free to contact a local handyman for more advice. As a reminder before embarking on your project, make sure that you check regulations and guidelines before beginning work on your local post office box. Everyone needs their letterbox but making sure that yours is up-to-date is key to receiving mail in a timely manner. Taking the time to replace it properly will ensure that your postbox is durable enough to weather all kinds of horrible weather conditions while simultaneously ensuring its aesthetic appeal. Don’t forget that sometimes keeping things simple and appreciating small details can make all the difference! So pick up those tools and get ready to tackle this project head-on!
References:
- https://brickdr.com/brick-repair-services-2/brick-mailbox-design-repair/brick-mailbox-repairs
- https://www.wikihow.com/Make-a-Brick-Mailbox
- https://brickdr.com/brick-repair-services-2/brick-mailbox-design-repair/brick-mailbox-design-options/