Looking for a fun project to do with your kids this weekend? Why not try making spoon fish wind chimes! This is a great activity for all ages, and it’s easy to do. You just need a few simple supplies and you’re ready to go. In this article, we will discuss the steps involved in making these beautiful wind chimes. We’ll also provide some helpful tips along the way. So get ready to have some fun!
Table of Contents
How do you make a spoon wind chime?
Making a spoon wind chime is easy, but it does require some patience and creativity. Here are the steps you need to follow:
- Gather your supplies: You’ll need spoons of various sizes and designs, which can be found at craft stores or online; string or twine; scissors; and pliers (optional).
- Cut your string into equal lengths, then tie each one to the handle of a spoon so that they hang freely.
- Tie all the spoons together in a bundle using another length of string or twine, making sure to secure them tightly with knots.
- Decorate your chimes by adding charms or beads if desired, then hang them up in a sunny spot for the wind to catch.
When you’ve finished your project, enjoy the soothing tinkling of the spoons as they catch the breeze! With a little creativity, this simple craft will become something special that you and your family can enjoy every day. [1]
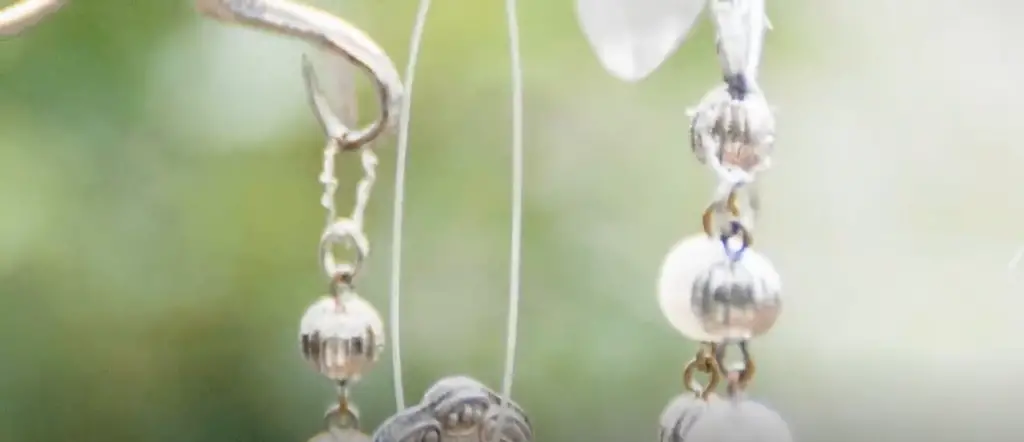
What material makes the best sounding wind chimes?
The material that makes the best sounding wind chimes is metal. Metal will create a nice, clear tone when it catches the wind, whereas other materials like wood and plastic may not produce as much sound. When choosing spoons for your chime, opt for those made of stainless steel or copper as these will produce the most pleasing sound. Additionally, make sure all the spoons you choose are of similar thickness so they all create a harmonious tone.
What is the best tool to make spoon rings?
The best tool for making spoon rings is a pair of pliers. Pliers will help you to bend and shape the spoons into the desired ring shapes and sizes. You can find pliers at most hardware stores or online, so make sure to pick up a good quality pair before you start your project.
What makes a wind chime sound deeper?
A wind chime will sound deeper when it is made of heavier material like metal or ceramic. Heavier materials create a lower frequency, which produces a more resonant sound. Additionally, using larger spoons or other materials (like bells) will also help to create a deeper tone. Finally, making sure the strings that hold your chimes are long enough to allow them to move freely in the breeze will result in the deepest sounding chime possible. [2]
Where should you not put wind chimes?
Wind chimes should not be hung in places where they will be exposed to strong winds, such as near a window or on an open balcony. The intense gusts can damage the chime and even break it if it is made of delicate materials. Additionally, wind chimes should not be placed too close to other objects that might hinder their movement and their sound. Instead, find a sheltered spot in your garden or patio where the chimes can move freely and create beautiful music for you every day.
What kind of string do you use for wind chimes?
The best type of string for wind chimes is twine or strong cotton string. These types of strings are light enough to move with the breeze, but strong enough to hold the weight of the chime and keep it securely in place. Make sure you use a thin string so that it doesn’t overpower the sound of your chimes when they catch the wind.
Finally, make sure you check on your chime regularly to ensure that no knots have come loose or pieces have been damaged by weather or other elements. A little bit of maintenance can go a long way in keeping your spoon fish wind chimes beautiful and sounding their best!
12 wind chimes you can make
- Bottle Cap Chimes: Upcycle a few old bottle caps and use them to create a cheery chime for your garden.
- Classic Spoon Chimes: Hang up vintage spoons for a traditional-style wind chime.
- Beaded String Chimes: Use colorful beads and string to create a bright and cheerful chime.
- Mason Jar Lid Chimes: Transform an old mason jar lid into a fun DIY wind chime.
- Copper Pipe Wind Chimes: Create an intricate chime by cutting copper pipes and hanging them with strong cords.
- Silverware Spinner Wind Chimes: Take several pieces of silverware and attach them to twine strings for an eye-catching wind chime.
- Seashell Wind Chimes: Gather some seashells and attach them to a string for a beach-inspired wind chime.
- Jingle Bell Wind Chimes: Hang up jingle bells for an enchanting sound in your garden.
- Bamboo Stick Wind Chimes: Use bamboo sticks to create a beautiful, natural sounding wind chime.
- Acorn Cap Wind Chimes: Fill your garden with pleasant tones from acorn caps strung together.
- Wine Glass Wind Chimes: Recycle old wine glasses into unique and delightful wind chimes.
- Wood Slice Wind Chimes: Create rustic wood slice wind chimes by drilling holes in slices of wood and hanging them with string.
No matter what type of wind chime you choose to make, the creative possibilities are endless! So go ahead, get crafting, and enjoy the beautiful sounds your homemade chime will bring to your garden.
Flowerpot
This is a fun and easy project for anyone looking to make their own wind chime. All you need is an old flower pot, some string, and small decorative items like bells or beads. Start by drilling holes in the bottom of the pot and threading your string through them. Then add your colorful decorations—you can use anything from seashells to jingle bells! After you’re finished, display your flowerpot wind chime in a spot that is sheltered from the elements so it can move gently with the breeze and create captivating music for you to enjoy.
Bottle Tops
This is a great project for upcycling old bottle tops. Simply drill small holes in the tops and thread your string through them. Next, hang up several bottle caps on strings of different lengths to create an interesting chime. Finally, attach small decorations like bells or beads to each cap to make it even more fun and unique! Hang this DIY wind chime in a sheltered spot outdoors so it can jingle away with the breeze.
Pencils and Ruler
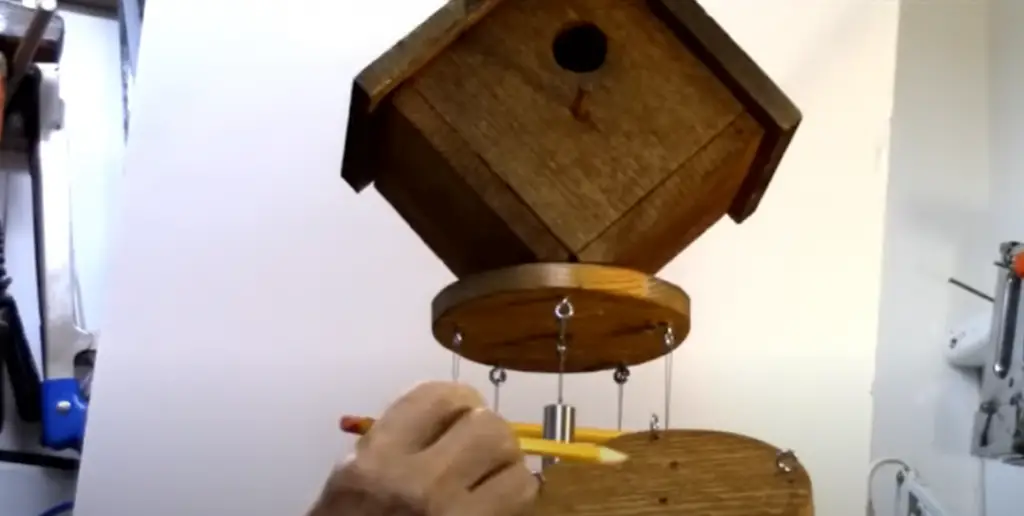
For a classic wind chime with a twist, try making one with pencils and a ruler. Start by tying your string to the top of the ruler, then thread it through several old pencils. You can use different colors or patterns for an added bit of flair! Once you’ve hung your chime in a sheltered outdoor space, it will be able to sway gently with the breeze and bring joyous music into your life daily.
Enjoy creating your own DIY wind chimes! By combining a few simple items and your imaginative flair, you could be showered with melodic tunes every morning from the singular piece of art hanging in your garden or patio. With just a bit of effort, you can have an original work of beauty to admire! Have fun experimenting with different materials and decorations so your chime will be truly one-of-a-kind, sounding its best.
Sea Shells
Bring some vibrant vibrancy to your home with this dazzling wind chime project. All you need are the beads and seashells of your liking. After that, secure the shells together by tying a string around them and add a few extra touches like tiny bells or other decorations for an even more stunning look! Hang your chime in an area outdoors where it can be exposed to the wind, producing a harmonious melody for you to enjoy every day.
Cookie Cutters
If you are looking to add a unique and melodious touch to your home, then this project is perfect for you! Start by gathering several old cookie cutters of your choosing. Then, drill small holes in the top of each cookie cutter and thread your string through them. Hang your masterpiece in an area with plenty of air circulation, so it can luxuriously sway and perform a melodic tune for you each day.
Twigs
This is a great project for anyone looking to make a rustic looking wind chime. Start by gathering some small twigs and sticks of your choosing. Then, tie the string around the top of each twig or stick and thread it through several beads. For an added bit of flair, add small bells or other decorations to each stick.
Bike Gears
Create a show-stopping wind chime with this simple yet stylish project! Begin by gathering some unique, eye-catching bike gears. Then tie the string around each gear and pass it through several beads for extra pizzazz. To give your masterpiece even more of an impactful look, embellish each gear with small bells or decorative trinkets. Finally, showcase your beautiful work outdoors in a sheltered spot – you’ll be sure to turn heads!
These are just some of the creative possibilities when it comes to making your own homemade wind chimes! With a little bit of creativity and imagination, you can have your own unique piece of art hanging in your garden or patio where it will fill the air with lovely melodies for years to come.
FAQ
What are the different types of wind chimes?
Wind chimes can be made from a variety of materials, including sea shells, bottle tops, bicycle gears, twigs, pencils and rulers, cookie cutters and more.
Are wind chimes lucky?
Many believe that wind chimes bring luck and good energy to a home. In fact, some cultures even use them as an offering to appease the gods or ward off bad fortune.

How do you hang a wind chime?
Wind chimes should be hung in a sheltered area outdoors where they can move freely in the breeze and create beautiful music for you every day. Make sure to securely attach it so it won’t be blown away by strong winds!
What are the benefits of having a wind chime?
Wind chimes have many benefits, including creating pleasant sounds that can reduce stress, calming white noise while sleeping, and repelling pesky bugs from your garden. Additionally, some believe that hanging wind chimes can bring good luck and prosperity to your home.
Are there any precautions when making wind chimes?
Yes! Make sure to securely attach your chime so it won’t be blown away by strong winds. Additionally, be careful with sharp objects or tools when drilling holes into the materials you are using for the chime. Lastly, make sure that the area you hang your chime in is free from any potential hazards such as tree branches or power lines. [3]
Useful Video: Flatware Fishing Couple In Boat & Spoon Fish | Wind chime recycling
Conclusion
Spoon fish wind chimes are a fun, easy, and sustainable way to bring life and energy into your garden. Crafting a spoon fish wind chime is also an excellent way to spend time with family or friends – but it’s important to choose the right type of spoons for the job! A plastic set is great for beginners, as it will be durable and hassle-free. Alternatively, you can pick up a wood or metal set depending on your skill level. The key components are washers (to spread out the spoons), a long string for tying them together and colorful beads for decorating. Take some time to choose special colored beads that match the style of your space – glass beads add a light, sparkly effect! Finally, hang your finished art-piece in an area that receives plenty of sunlight and enjoy the delightful tones it brings to your outdoor area! So let’s get creative and give this unique craft project a go; by making adorable spoon fish wind chimes, you’ll create lasting memories while having the satisfaction of upcycling materials at home! Let’s take our enthusiasm out into nature – let’s all make spoon fish wind chimes together!
References:
- https://www.songbirdblog.com/how-to-make-a-wind-chime-with-silverware
- https://wonderopolis.org/wonder/how-do-wind-chimes-work
- https://collegedunia.com/exams/how-to-make-wind-chimes-overview-and-explanation-physics-articleid-1855




Leave a Reply