
We’ll teach you everything you need to know about how to build silverware wind chimes in this comprehensive tutorial. From product reviews to useful tips, we have got you covered! Silverware wind chimes are a fun and unique way to spruce up your yard or garden, and they also make great gifts. Not sure where to start? Keep reading for our top tips on how to make silverware wind chimes like a pro!
Table of Contents
What You’ll Need To Make Them
If you’re looking for creative ways to recycle those old pieces of silverware, making wind chimes is a great option! Not only are they fun and easy to make, but they also add a lovely touch of whimsy to any outdoor space. Plus, with a little bit of creativity, you can really personalize your wind chimes to reflect your unique style.
To make your own silverware wind chimes, you will need the following supplies:
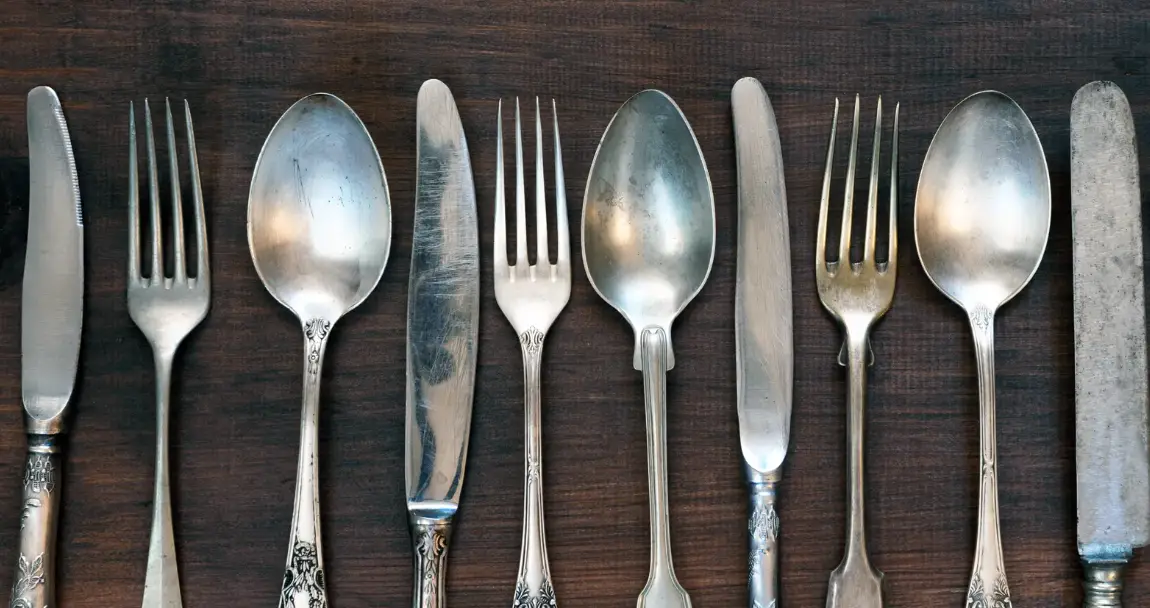
- Old silverware (forks, knives, spoons)
- Paint or other decorations (optional)
- Wire cutters
- Pliers
- Hammer
- Nails
- String or fishing line
- Plywood
- Drill
- Fishing line or twine
With these few simple supplies, you’ll be ready to get started on your very own silverware wind chime project! Keep reading for step by step instructions. [1]
Step-by-Step Guide
If you’re looking for a fun and unique DIY project, look no further than making your very own silverware wind chimes! Not only are they easy and affordable to make, but they also add a beautiful touch of whimsy to any outdoor space. In this guide, we’ll walk you through everything you need to know about how to make silverware wind chimes, from what materials you’ll need to where to find the best deals on products. We’ll also share some helpful tips and tricks that we’ve learned along the way so that you can create a one-of-a-kind masterpiece that will be sure to impress your friends and family. So let’s get started!
Glue Lid Onto Sugar Bowl
The next step is to glue the lid onto the sugar bowl. You will need a strong adhesive for this step, so we recommend using a hot glue gun. Apply a generous amount of glue around the rim of the sugar bowl and then place the lid on top.
Hold in place for a few seconds to allow the glue to set.
Now that the lid is attached, you can start adding your silverware to the bowl. Arrange your spoons, forks, and knives however you like – there is no wrong way to do this! Just make sure that all of the pieces are securely glued in place before moving on to the next step.
Finally, it’s time to add some embellishments to your wind chime. You can use beads, charms, or anything else you like to add a bit of personality to your creation. Have fun with this step and let your imagination run wild!
Once you’re happy with the way your wind chime looks, it’s time to hang it up and enjoy the soothing sound of silverware clinking in the breeze.
Drilling Holes In Small Plate
You can use a regular hand drill for this project. If you have a lot of plates to drill, it might be worth investing in a small tabletop drill press. Either way, you’ll want to use a sharp bit designed for metal drilling. A dull bit will just slip and slide on the surface of the plate, potentially ruining it.
Start by gently clamping your plate down to a stable work surface. If you’re worried about marring the finish of your plate, you can put a piece of scrap wood or cardboard underneath it. Then, using a ruler or measuring tape, mark out where you want to drill your holes. It’s important to make sure that all of your holes are evenly spaced – otherwise, your chime will look lopsided.
When you’re ready to start drilling, put on a pair of safety goggles to protect your eyes from flying metal shavings. Then, using a slow and steady speed, begin drilling your holes. If your bit starts to wander off course, stop and reposition the plate before continuing.
Once you’ve drilled all of your holes, use a wire brush or piece of sandpaper to smooth out any rough edges. And that’s it – you’re now ready to move on to the next step! [2]
Drilling Holes In Flatware
After you have collected all the silverware you need for your project, use a drill to make hole in the top of each piece. Now that you have all of your materials, it’s time to start drilling holes in your flatware. This is perhaps the most tedious part of the entire process, but it’s also crucial. The size and placement of the holes will determine how your chime sounds, so take your time and be precise.
There are a few different ways to drill holes in flatware. You can use a hand drill, an electric drill, or even a hammer and nail. If you’re using a hand drill, be sure to use a small bit (we recommend a ¼-inch bit) so that you don’t damage the flatware. If you’re using an electric drill, start with a smaller bit and then gradually increase the size until you reach the desired hole size.
Once you’ve finished drilling all of your holes, it’s time to start assembling your chime!
Adding Typography On Small Plate
One of the most important aspects of making your silverware wind chime is picking out the right typography. You want to make sure that the font you choose is easily readable from a distance and compliments the overall design of your wind chime. If you’re not sure where to start, we’ve put together a helpful guide on choosing the best font for your wind chime.
Once you’ve selected a font, it’s time to start adding some text to your small plate. We recommend using a stencil or template to help you get started. If you don’t have either of these things, no worries! Just use a pencil to lightly sketch out your design before filling it in with paint or markers.
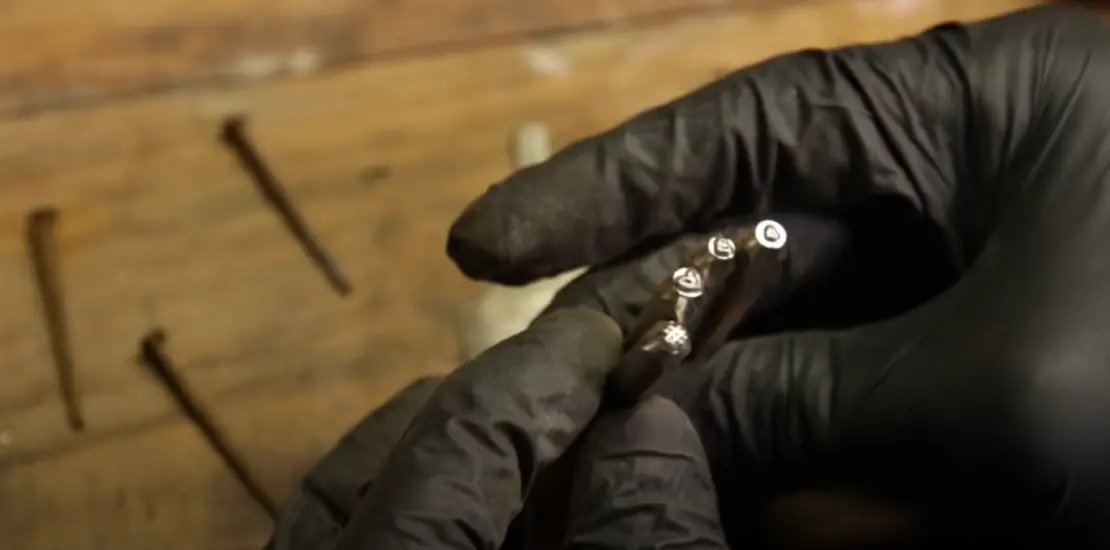
If you’re adding text to your small plate, we recommend using a permanent marker or paint. These will help ensure that your text is readable from a distance and won’t fade over time.
Once you’re happy with your design, it’s time to start assembling your wind chime! Follow the instructions below to put everything together. [3]
Hanging Flatware Onto Dessert Plate
Now that you have your silverware and plates, it’s time to start hanging them! This is a straightforward procedure, but there are a few things to bear in mind. First, make sure that the plate is big enough to comfortably fit all of the silverware. You don’t want the utensils hanging off the edge of the plate. Second, use a fishing line or thin wire to hang the flatware. This will ensure that it stays in place and doesn’t fall off when the wind starts blowing. Finally, be creative with how you arrange the silverware on the plate. There is no right or wrong way to do this – just have fun with it!
Once you have your flatware and plates hung, it’s time to add the bells.
Glue Plate Onto Sugar Bowl
The next step is to glue the plate onto the sugar bowl. You will need to use a strong adhesive for this step. We recommend using Gorilla Glue. Once the plate is glued on, let it dry for 24 hours before moving on to the next step.
Next, you will need to gather your silverware. You can use any type of silverware you have on hand. For this project, we used forks, knives, and spoons. Once you have gathered your silverware, it’s time to start bending and shaping it into wind chimes!
There are many different ways you can bend and shape your silverware. We found that using a hammer works best. Simply place your silverware on a hard surface and gently tap it with a hammer until it is bent into the shape you want.
Once you have bent and shaped all of your silverware, it’s time to start assembling your wind chimes! To do this, simply thread the silverware through the holes in the plate. Once all of the silverware is threaded through, you can start adding beads and charms for decoration.
Attaching Wind Chime Hanger
The next step is to attach your wind chime hanger. You can do this by using a small piece of chain and a screw eye hook. First, screw the eye hook into the top of your wooden dowel. Then, measure out a length of chain that will allow your wind chime to hang at the desired height. Next, use a jump ring to attach one end of the chain to the eye hook. Finally, use another jump ring to attach the other end of the chain to your chosen wind chime hanger. And that’s it! Your silverware wind chime is now complete and ready to be hung up and enjoyed! [4]
Important Tips For Wind Chime Supplies
Here are a few tips to help you create the perfect wind chimes for your home.
Paint or decorate your silverware before you begin assembling your wind chime. This is a great opportunity to really personalize your project and add some fun pops of color. If you’re not feeling particularly creative, there are also lots of great pre-painted silverware sets available online or at your local craft store.
When it comes to choosing which pieces of silverware to use, go with whatever strikes your fancy! Mix and match different sizes and patterns for a unique look, or stick with all forks or all spoons for a more cohesive feel. You can even use other types of metal utensils, like serving pieces or cookie cutters. Just be sure that whatever you choose is made of a sturdy metal that won’t bend or break too easily.
Once you’ve gathered your silverware and other supplies, it’s time to start putting your wind chime together! Begin by taking one piece of silverware and making a small hole near the top using your hammer and nail. Next, use your wire cutters to trim a length of string or fishing line. Thread the string through the hole in the silverware, then tie a knot to secure it in place. Repeat this process with all of your silverware pieces, varying the lengths of string so that they all dangle at different levels.
Finally, find a spot to hang your wind chime and enjoy the gentle tinkling of metal in the breeze! For extra protection against the elements, you can spray your wind chime with a clear sealant. Just be sure to do this in a well-ventilated area, as aeros fumes can be harmful.
With these tips in mind, you’re ready to start crafting your very own silverware wind chime! Have fun and be creative – there’s no wrong way to do it. Once you’ve perfected your technique, you can even start making them for gifts. They’re sure to be a hit with anyone who appreciates a little bit of DIY charm. [5]
FAQ
What metal is best for wind chimes?
There are a few different types of metal that can be used for wind chimes, but some are better than others. The best metals to use for wind chimes are those that are lightweight and won’t rust easily. Some good choices include aluminum, stainless steel, and copper.
Another thing to keep in mind is the sound that each type of metal will make when it’s struck by the wind. For a softer, mellower sound, go with a metal like aluminum. If you want a louder, more ringing sound, stainless steel or copper would be better choices.
Finally, make sure to avoid using any type of lead-based metal, as it can be toxic if it begins to chip or flake off into the wind.
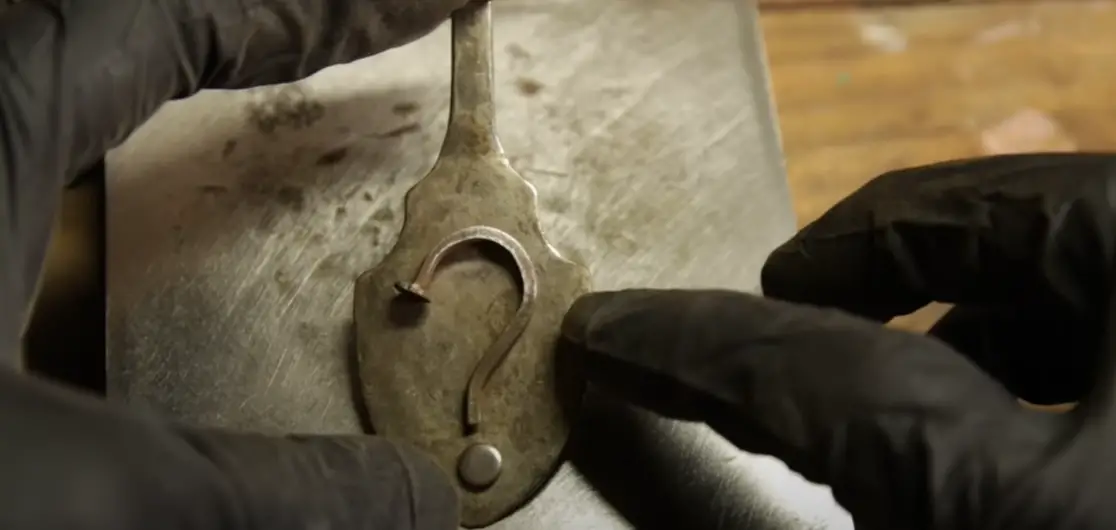
How do you flatten and bend old silverware?
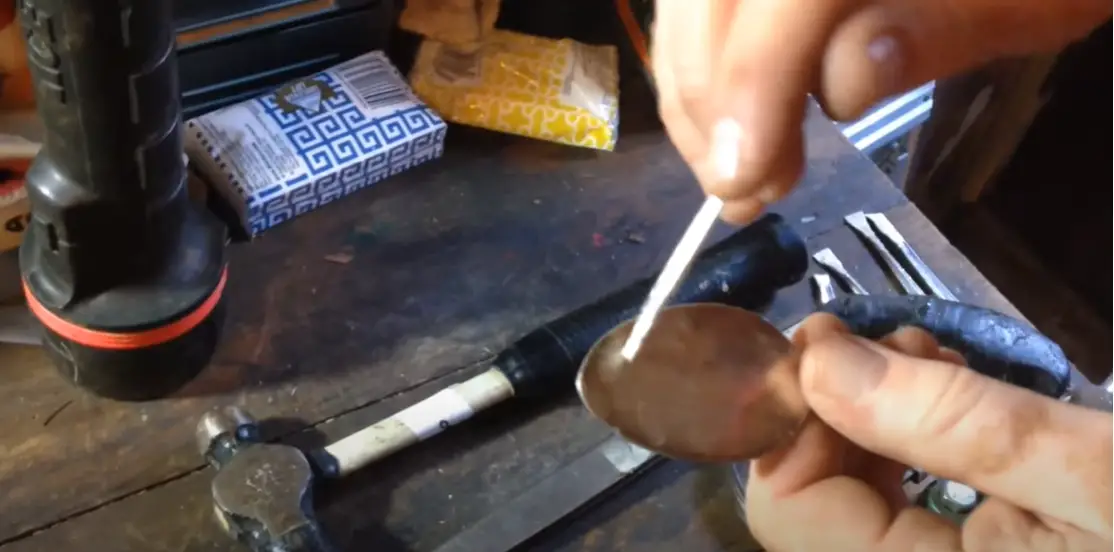
If you’re using old silverware for your wind chime, you’ll need to flatten and bend it into shape before you can start assembling your chime. The best way to do this is with a hammer and an anvil (or a heavy-duty vise).
Start by placing the silverware on the anvil and giving it a few good whacks with the hammer. This will start to flatten out the metal. Once it’s somewhat flattened, use the hammer to gently bend the metal into the shape you want.
If you don’t have access to an anvil or vise, you can also use a heavy-duty pair of pliers to flatten and bend the silverware. However, this method is more likely to damage the metal, so use it as a last resort.
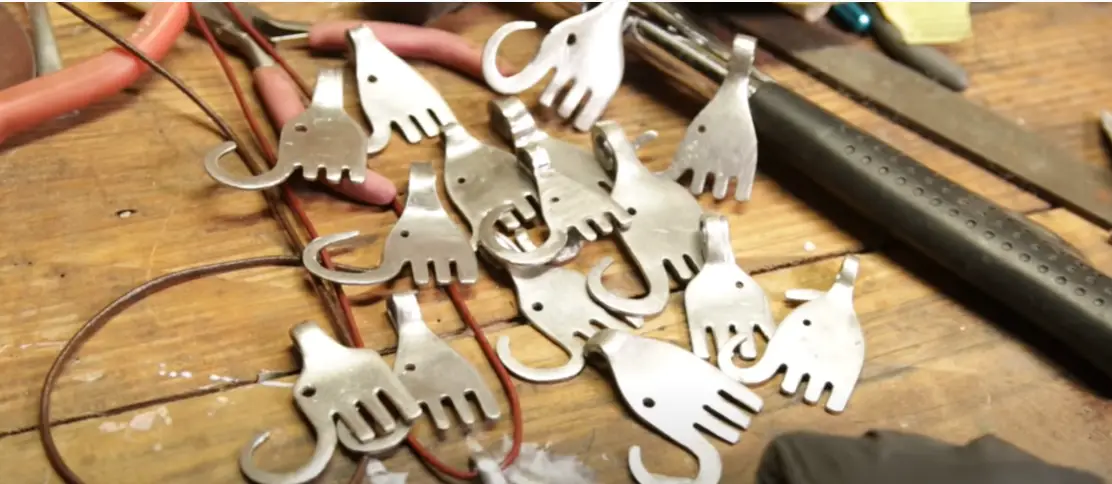
What can I make with old silverware?
Old silverware can be used for a lot of different things. You can use it to make jewelry, ornaments, or even wind chimes! In this guide, we’re going to focus on how to make silverware wind chimes.
Wind chimes are a great way to upcycle old silverware. They’re easy to make, and they look really pretty when they’re finished! Plus, they’ll add a lovely tinkling sound to your home.
First, you’ll need to gather some supplies. You’ll need: -old silverware -hammer -nails -string or wire -pliers.
Once you have your supplies, you’re ready to start making your wind chime! Start by hammering a nail into the top of each piece of silverware. Then, use the string or wire to tie the pieces together. You can arrange them however you like – just make sure they’re all securely attached!
Finally, use the pliers to make a small loop at the top of your wind chime. This will be where you hang it up! Once your loop is made, your wind chime is finished. Hang it up outside and enjoy the gentle tinkling sound it makes in the breeze.
How do you make silver more bendable?
Using an annealing technique, for example, may make silverware more flexible. The process of annealing metal involves heating it to a high temperature and then slowly cooling it. This process makes the metal softer and more pliable, making it easier to work with.
Bending silverware back into shape is easy with a hammer. By gently tapping the metal with a hammer, you can work it into the desired shape. However, this method requires some patience and skill, as it’s easy to overwork the metal and cause it to break.
If you’re looking for an easy way to make silverware more bendable, try using wire cutters. Simply snip off small pieces of the metal until it’s pliable enough to work with. This method is quick and easy, but it does produce a lot of waste.
What makes the best sound for wind chimes?
There are a few things to consider when choosing the best sound for your wind chimes. First, think about what kind of mood you want to create. Do you want a calming effect or something more energetic?
Next, consider the materials you’re using. Different metals will produce different sounds when they’re struck together. For example, aluminum has a higher pitched sound than copper.
Finally, pay attention to the size of your chimes. Larger chimes will make a deeper sound, while smaller chimes will be higher pitched. You can experiment with different sizes and materials to find the perfect sound for your wind chimes.
With a little trial and error, you can find the perfect sound for your wind chimes. Just remember to have fun and experiment until you find the perfect combination.
What do wind chimes symbolize?
Wind chimes are often seen as a symbol of good luck. In many cultures, they are believed to ward off evil spirits and bring good fortune. They are also thought to promote relaxation and bring a sense of peace and harmony.
With so many different wind chimes to choose from, it can be difficult to decide which one is right for you. From simple designs to more elaborate ones, there’s a wind chime out there for everyone. Plastic wind chimes can also be found, as well as wind chimes made from recycled goods such as silverware or glass bottles.
If you’re looking for a unique gift for someone special, or simply want to add a beautiful touch to your own home, consider making your own silverware wind chime!
What kind of pipe is used for wind chimes?
PVC pipe is the most popular type of pipe used for wind chimes. It is lightweight, inexpensive, and easy to work with. PVC pipe is also durable and weather-resistant.
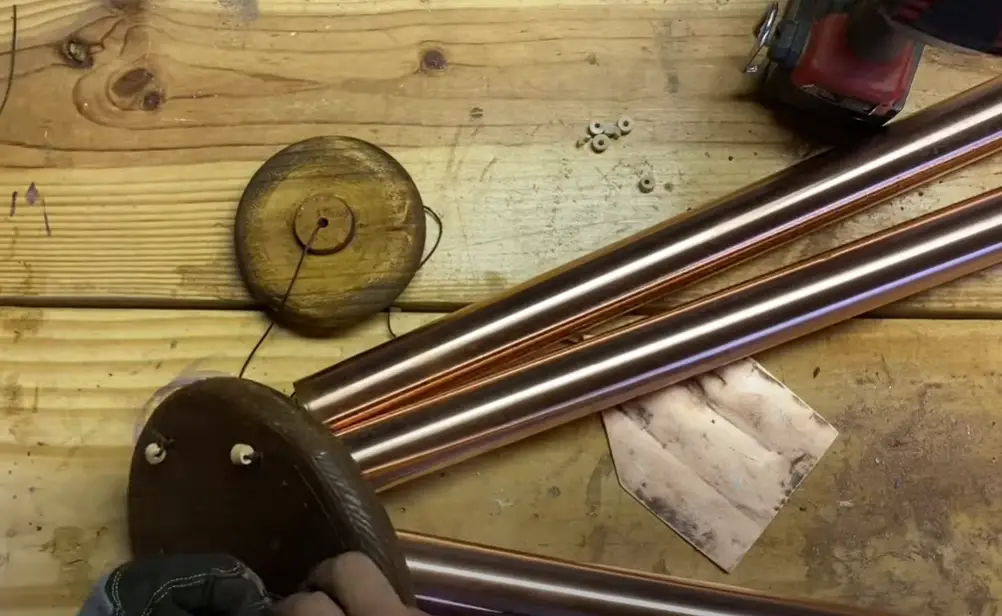
Other types of pipe that can be used for wind chimes include copper, brass, and aluminum. Copper and brass are heavier than PVC but have a more elegant look. Aluminum is lightweight like PVC but has a more industrial appearance.
When choosing a pipe for your wind chimes, consider the overall look you are going for as well as the weight of the pipe. Heavier pipes will produce a deeper sound while lighter pipes will have a higher pitch.
Once you have decided on the type of pipe you want to use, it’s time to cut it to size. The length of the pipe will determine the overall tone of your wind chime. For a deeper sound, use longer pieces of pipe. For a higher pitch, use shorter pieces of pipe.
What material is used in wind chime?
You can find or make many different types of wind chimes. The most frequent materials used in wind chimes are glass, metal, wood, and bamboo.
If you want to make your own wind chime, you will need to gather some supplies. For the frame of the wind chime, you will need something sturdy like wire or string. You will also need a hammer, nails, and pliers. Make sure to collect a variety of different sizes and shapes of silverware for your project. You’re ready to begin constructing your own silverware wind chime once you’ve gathered all of your materials.
The first step is to create the frame for your wind chime. You can do this by wrapping the wire or string around a nail and hammering it into the top of a piece of wood. Once you have the frame created, you can start adding the silverware. To do this, simply take the handle of each piece of silverware and bend it so that it hooks onto the frame. Make sure that you leave enough space between each piece so that they can move freely and make noise when they come into contact with each other.
Once you have added all of the silverware to the frame, you can add a bit of decoration if you’d like. This is completely optional, but it can be fun to add beads or charms to your wind chime. Once you are finished, your wind chime is ready to be hung up and enjoyed!
Making your own silverware wind chime is a fun and easy project that anyone can do. These charming decorations are sure to add a bit of personality to any space. Plus, they make wonderful gifts for friends and family. So gather your supplies and give it a try!
Useful Video: Silverware How-To: Keyfinder, Fork Elephant, Hammered Spoon Pendant, Flatware Jewelry
Conclusion
With a little bit of creativity and some elbow grease, you can easily make beautiful and unique silverware wind chimes right in your own home. By following the tips and advice in this guide, you’ll be able to create a one-of-a-kind decoration that will add personality and charm to any space. So what are you waiting for? Start gathering your materials and get crafting! We hope you enjoyed this guide and that it was helpful in your silverware wind chime-making endeavors. If you have any questions or comments, please feel free to reach out to us. We would love to hear from you!
References
- https://diyeverywhere.com/2018/07/20/how-to-make-a-silverware-windchime/
- https://www.interiorfrugalista.com/2017/07/diy-silverware-wind-chimes.html
- https://diyprojects.com/wind-chimes-tutorials/
- https://www.wikihow.com/Make-Wind-Chimes-From-Old-Silverware
- https://www.songbirdblog.com/how-to-make-a-wind-chime-with-silverware/