
Installing a mailbox post without concrete is a simple process that can be done in just a few minutes. This article will provide you with all the information you need to get the job done right. We’ll answer some of the most common questions about installing a mailbox post without concrete, and we’ll also provide you with some helpful tips to make the process go as smoothly as possible. So if you’re looking for an easy way to install your mailbox post, read on!
Table of Contents
Purchase A New Post And Mailbox
Before you can begin installing a mailbox post without concrete, you’ll first need to purchase a new post and mailbox. Make sure that the post is made of durable material, like wood or metal, as this will help ensure it stands up against all sorts of weather conditions. Additionally, make sure the dimensions are correct for your desired spot. Most posts are designed to accept standard-sized mailboxes, but there may be some variation between models.
Once you have the post and mailbox in hand, test to make sure they fit together properly before attempting installation. If everything looks good, then you’re ready to move onto the next step!
Remove Your Current Mailbox Post
Before you install the new mailbox post, you’ll need to remove your current one. This is typically a simple task, but you will want to be careful so as not to damage anything in the process. Start by removing any screws or bolts that are holding the current post in place. Then, carefully lift it up and out of its hole. If there is concrete around the post, use a hammer or other tool to break it apart until it is loose enough to pull out.

Locate the Utilities Before Installing A New Mailbox Post
Next, you’ll want to locate any underground utilities in the area before starting your mailbox post installation. This is important because you don’t want to accidentally hit a gas or water line when digging the hole for your new post. You can usually do this by calling 811 and having them come out and mark any lines in the vicinity.
Once they’re done, you should be able to start digging! Be sure to check with local laws and regulations regarding mailbox post installations before proceeding. In many areas, there are specific guidelines that must be followed when it comes to these types of projects. [1]
Dig A 20-Inch-Deep Hole Using A Post Digger
Once all of the necessary precautions are taken, you can start digging a hole for your new mailbox post. Aim for a depth of around 20 inches, and use a post digger to make sure the sides and bottom of the hole are even and smooth. Make sure that the hole is wide enough to easily fit the base of your post as well.
Fill The Hole With Gravel
Once the hole is dug, you’ll need to fill it with gravel. This will help support and stabilize your post, even without concrete. Fill the bottom of the hole with a few inches of gravel, then insert the post and level it out as best as possible. Then, continue adding more gravel around the sides until you’ve filled in the entire hole.
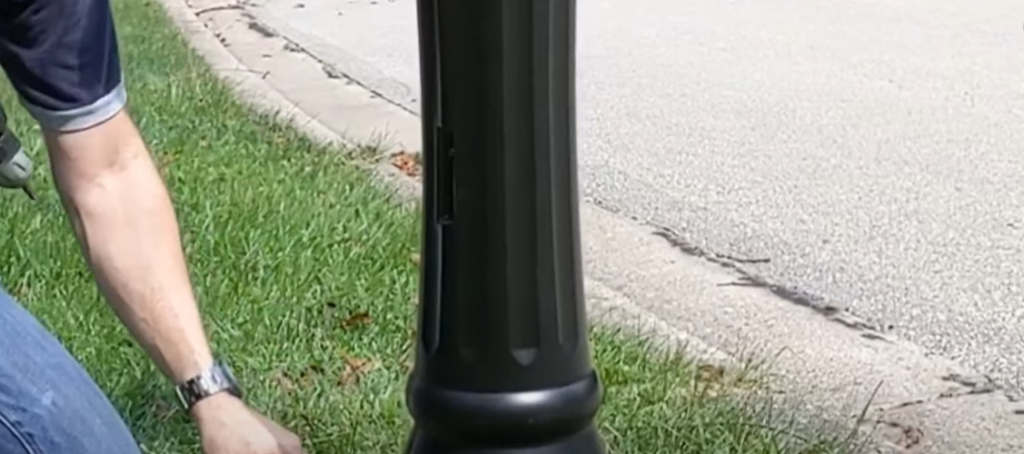
Place The Post In The Hole To Check The Height
The next step is to place the post in the hole. Before placing it, use a level to make sure that the surface of the ground is even and that there are no obstructions in the way. Once you have confirmed this, insert the post into the hole. The depth should be just below where you want your finished fence height to be. Using a tape measure, ensure that all posts are at an equal distance from one another, as this will help when securing them with concrete later. As you insert each post into its designated spot, check its height with a measuring tool to make sure it’s correct before continuing on to the next one.
Add Concrete To The Hole And Cover It With Water
Once all posts are in place, it’s time to add concrete. Make sure that you use the same type of mixture for each post. You can buy ready-made concrete or make your own with three parts sand and one part cement. When adding the dry ingredients, slowly pour in water as you mix them together until you have a thick paste-like mixture. Then, scoop the concrete into the hole around each post until it is filled and level with the ground.
Let The Concrete Set For 4-6 Hours
Now, it’s time to let the concrete set. Depending on the temperature and humidity levels, this can take anywhere from four to six hours. Once it has had enough time to cure, you should be able to move onto the next step: installing the mailbox!
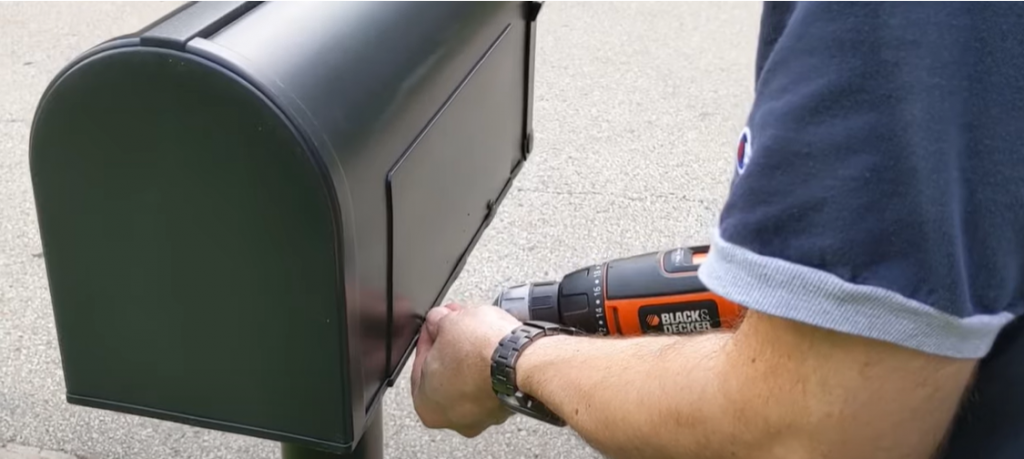
Attach The Mailbox Post And Fill The Hole With Dirt
Once the concrete has had a chance to set and dry, you can attach your mailbox post to it. Use screws or bolts that are appropriate for the type of mailbox you have chosen. Then, fill in the remaining hole with dirt. This will help add stability to the post and ensure a secure surface for your mailbox.
Installing A Mailbox Post Without Concrete
Although it is not recommended, you can also install a mailbox post without using concrete. This may be beneficial if you are in an area with especially cold winters, as the concrete can crack due to freezing temperatures. In this case, use metal spikes or brackets to secure the posts into the ground instead. Although these methods don’t offer as much stability as concrete does, they will still provide enough support for your mailbox.
How Many Bags Of Concrete Do You Need For A Mailbox Post?
Depending on the size and depth of your hole, you may need a considerable amount of concrete for your mailbox post. Generally, two 50-pound bags of ready-mixed concrete is enough to fill a single 20” deep hole. However, if your hole is much deeper or wider than this, you should plan on buying more bags of concrete. It’s always better to have too much than not enough when it comes to these types of projects! [2]
What Side Of The Driveway Does The Mailbox Go On?
When installing a mailbox post, it is important to know which side of your driveway the mailbox should go on. Generally, you should place it on the same side as your house. This will make it easier for you to access and also provide a more uniform look across the entire front of your home.
How Long Does It Take To Install A Mailbox Post?
The amount of time it takes to install a mailbox post will depend largely on the size of your project, as well as the type of materials you are using. Generally, though, most people can complete a mailbox installation in about two hours or less. This includes digging the hole, filling it with concrete, and installing the post itself.
How Much Does It Cost To Install A Mailbox Post?
The cost of installing a mailbox post will depend on the materials you purchase and any additional labor that may be required. Generally, though, most people can expect to spend around $50-100 on their mailbox installation project. This includes the cost of concrete, posts, screws or bolts, and other necessary tools. [3]
FAQ
Do you need concrete for a mailbox post?
Yes, you will need concrete to install a mailbox post securely. The type of concrete that you should use depends on the weight and size of your mailbox post. Smaller posts can be installed using a simple mix of one part portland cement and three parts sand. For larger or heavier posts, it is best to use ready-mix concrete from a home improvement store or supplier.
It is important to make sure that the hole for your post is at least 6 inches deep and 8 inches wide so that there is room for the concrete mixture. After digging the hole, line it with gravel before pouring in the concrete mixture. Once all of the soil has been removed and replaced with gravel, begin mixing your concrete according to manufacturer instructions. Once the mixture is complete, pour it into the hole around the mailbox post and use a trowel to smooth out the surface. Allow 48 hours for the concrete to dry before using your mailbox.
It is also important to note that when installing a new mailbox post, you should make sure that it is properly secured in place with bolts or screws. This will ensure that your mailbox remains securely in place no matter what weather conditions you may face.
How do I secure a mailbox post in the ground?
Securing a mailbox post in the ground is easy. First, you’ll need to determine where you’re going to place your mailbox post. Once that’s been decided, mark the area with spray paint or another marker so you can easily find it again.
Next, dig a hole that’s about 12-18 inches deep. Depending on the size of the post and its purpose, make sure to create a wider base for more stability. Place about an inch of gravel in the bottom of the hole before setting your post into place, and make sure it’s level as well as straight; adjust accordingly if necessary.
Fill up the rest of the hole with soil and tamp down firmly around all sides of the post. If you’d like, use a commercial mailbox mounting kit or some concrete mix to secure the post even further. You may also want to consider using a sealant around the base of the post for added protection from moisture and weather elements.
Can I use a steel post for my mailbox?
Yes, most mailboxes will work with a steel post. However, it is important to make sure that the post you choose is durable enough to withstand the elements. [4]
What type of mailbox post is the best?
The best type of mailbox post will depend on your specific needs. Generally, wooden posts are the most popular as they offer a classic look and can be painted to match the style of your home. However, you may also want to consider a metal or plastic post for added durability and protection against the elements.
What is the difference between a mailbox and post box?
A mailbox is a receptacle that is used to store mail from the post office and it is typically attached to a house. A post box, on the other hand, is an enclosed box that is installed in public areas for people to drop off their mail. [5]
Useful Video: Installing a Sturdy Mailbox Without Using Concrete | Quick and Easy
Conclusion
It is important to follow the instructions when installing a mailbox post without concrete. Make sure that you allow the postal worker access to your mailbox and that you do not put it in a place where it will be obstructed. You should also make sure that the soil around the post is firm so that it does not shift or collapse.
References:
- https://www.wikihow.com/Install-a-Mailbox-Post
- https://www.lowes.com/n/how-to/setting-a-post-with-concrete
- https://diyornot.com/costs/replace-mailbox/
- https://www.usps.com/manage/mailboxes.htm
- https://www.theupsstore.ca/why-a-mailbox-is-better-for-your-small-business-than-a-po-box